Hello Everyone,
Today, I’m taking a break from customer quilting and quilting one of my MANY UFO’s. It is a pattern called “Butterfly Kisses” by Nancy Davis Murty. Her blog is located at
http://nancymurty.typepad.com/ and this is the third of her quilts that I have pieced. I’ve also done “Harvest Home” and “Harvest Spice”. It is quilting out beautifully with a pattern called “Butterfly Fantasy”. Pretty cool, eh?

As you may know, I finished the 256th block for my taupe quilt, “Blue Ridge Beauty” on August 8th. What a great birthday gift… On that day I turned 47 years old, and although I didn’t plan this out… my birthday was the 47th consecutive day I have worked on my quilting projects in a row. I am amazed at the amount of work that I’ve been able to accomplish during this time.
After working so hard on those 256 blocks, I’m ready to give that project a break for a few days. So, I decided to work on my “Scrappy Trip Around the World”. This project is one that I’m making from my scrap bins, but cutting 2.5 inch strips from scraps, and some small pieces from my stash to round out the color selections.
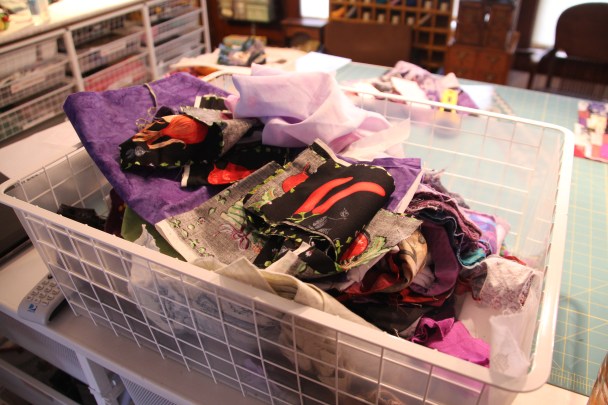
Here is a photo of one of my scrap bins. I actually have about 5 of these. One is for selvedges, another is for leftover binding strips, one is for small strips to use for locker hooking, and two others hold random pieces that are left over from various projects. I try not to return odd size pieces to my main stash, which consists of 26 elfa drawers like the one in this picture.
My main stash is sorted by colors, and neatly folded, unlike the scrap bin.
In the class I recently took, I was reminded that the scraps are also worth $10/yard, so it got me set on a course to use some of them for something nice. This scrappy quilt is super easy to make, and is a riot of color… which of course, I love.
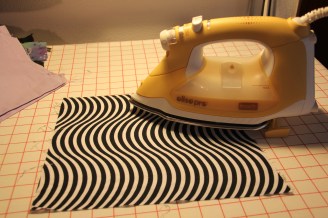
So, probably the part I don’t want to do is to pull out the fabrics and iron them flat.
{Notice my cool iron… It’s the Oliso Pro iron. It has legs and stands up on it’s own. I’ve always ended up dropping my iron off my table at some point until I discovered this brand. What I like about the Pro model is it’s 30 minute shut-off time. It stays hot while I piece and press, piece and press… Awesome. If you’d like one too, let me know. I sell them at Fellow Quilter.}
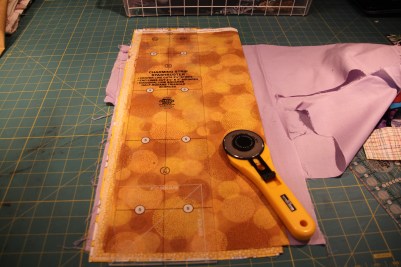
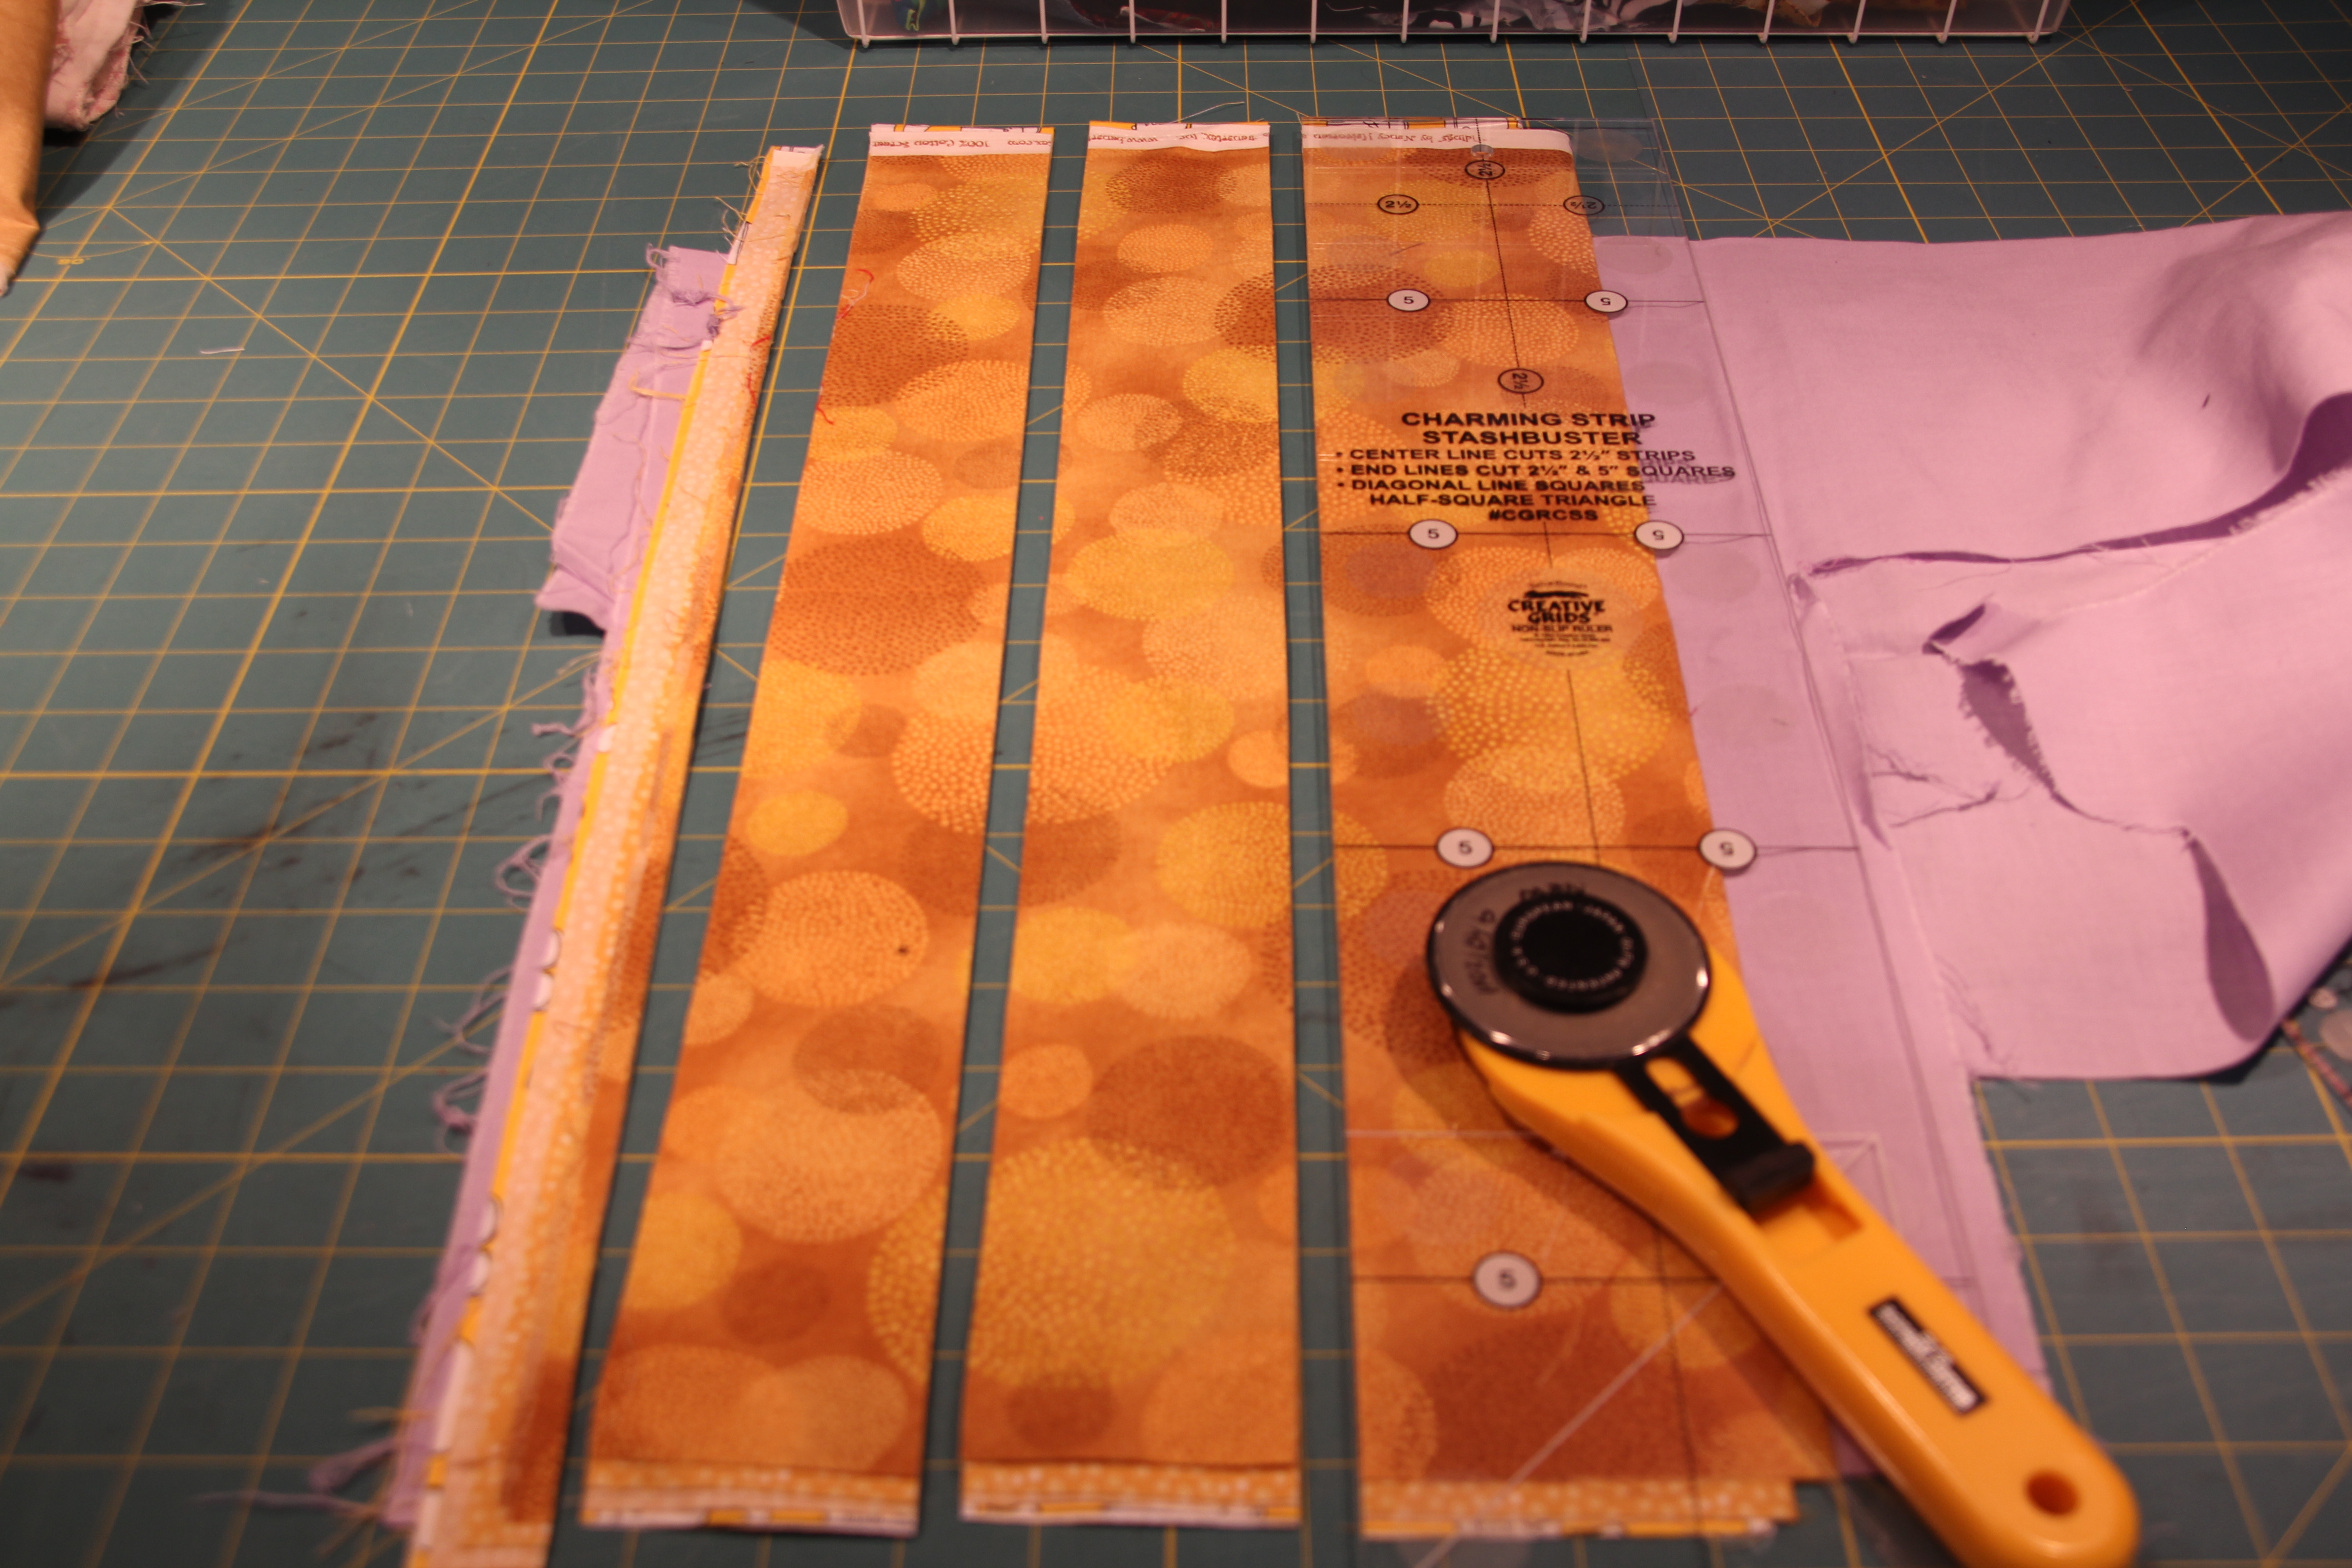
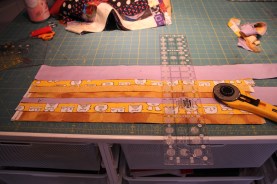
Next I stack up my pressed scraps. I usually can cut 8 layers with my giganto 60mm rotary cutter… but you might want to try 4 to 6 layers. I use this Charming Strip Buster ruler for this task. It’s 5 inches wide, and marked only for 2.5 inch strips, and 5 inch squares. (You know the ones… just like the popular charm packs put out by many fabric manufacturers these days.) But today, I’m making strips, so that’s what I’ll show.
 So this is how the strips look after you cut them. They are random lengths. But for this project, I only need 15 inches, but I’ll cut them 16″ to have a bit of wiggle room in my strip sets. There is no need to waste much time sewing strip sets longer than I need.

Now, I’ve got a huge pile of strips, ready to be sewn into sets of six. No color planning is allowed. If that is hard for you to do… you would need to put the strips in a brown bag, and pull them out as you sew. The beauty of this block is the random aspect.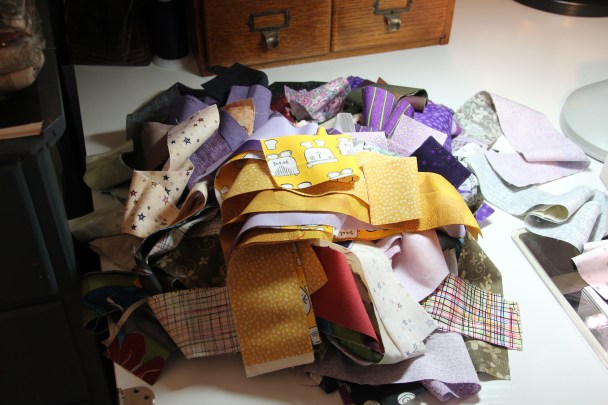
Sew them together into pairs, and press. Sew two pairs together and press. Sew a pair to that set, and you’ll have your six strip units. Remember, they need to measure at least 15 inches! They will look like this… You’ll get one 12″ finished block from each strip set. Make as many as you need. Be careful, this is addictive!

Well, that is where I’m at… sewing strip sets, and quilting my own quilt. WOO HOO! Thanks for following my blog, and I hope my progress is inspiring you to try something new, or just work on one of your own UFO’s… Leave a comment here, and tell me and my readers what you’ve been up to…
Have a great day!
Fellow Quilter,
Brian Clements
 I paper-pieced this beautiful quilt nearly 10 years ago. Bird-of-Paradise blooms are one of my favorite flowers, and I just love this design.